DrNezbit
Member
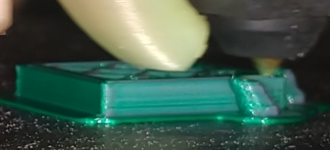
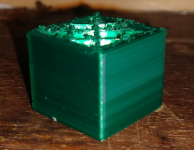
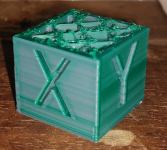
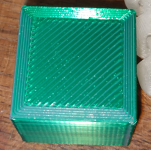
Has anyone tried this or seen it in person?
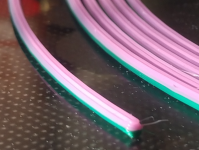
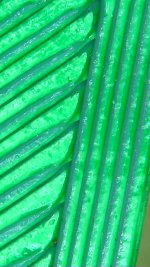
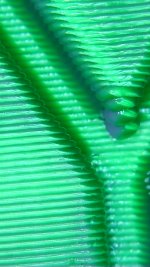
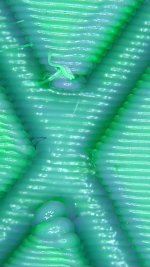
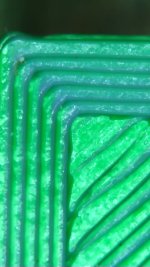
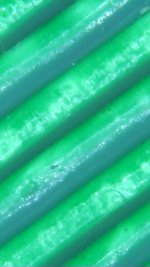
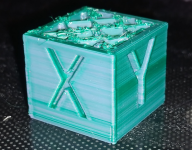
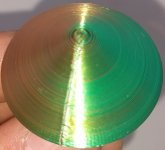
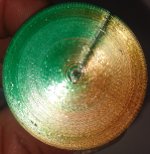
AMOLEN 3D Printer Filament, PLA Filament 1.75mm Dual Color Filament, Silk Red Green 3D Printing Filament 1KG/2.2lb
Video:
Curious if it is as awesome as it looks before I look into ordering some
AMOLEN 3D Printer Filament, PLA Filament 1.75mm Dual Color Filament, Silk Red Green 3D Printing Filament 1KG/2.2lb
Video:
Curious if it is as awesome as it looks before I look into ordering some